
Can You Vent a Dryer Into the Attic? What AZ Code Requires
No. A dryer vent that ends in the attic is against code, no matter how common it is or how long it's been that way. The residential code requires dryer exhaust to terminate outside the building envelope - through an exterior hood with a closing flap - and an attic, a crawlspace, or a garage ceiling doesn't qualify. If that's where your vent goes, the fix is a reroute, and it isn't discretionary. Here's why the rule exists, how Gilbert homes end up on the wrong side of it, and what putting it right actually involves.
The rule: dryer exhaust ends outside, full stop
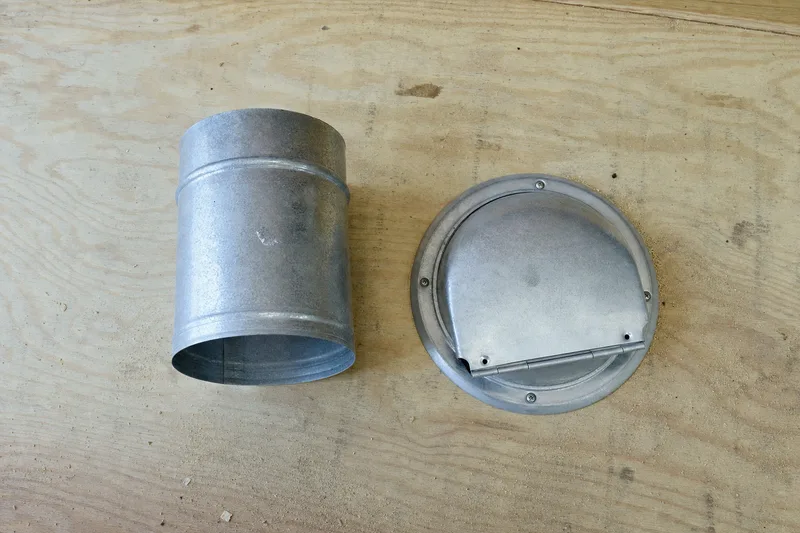
A compliant dryer vent run uses rigid 4-inch metal duct and terminates outside the building through a properly flapped hood - that's the standard every new installation is built to, and the residential code is explicit that the termination point must be outside the structure. "Into the attic" fails that test even when the duct itself is in perfect condition, because the problem isn't the duct - it's where its contents end up.
Why the attic is the wrong destination for dryer exhaust
Think about what a dryer actually does: it pulls the water out of your clothes and sends it away as vapor, along with a steady supply of lint, in a stream of warm air. The vent's whole job is to carry that mixture out of the house.
Terminate the line in an attic and both halves of that mixture stay in the structure. The moisture is released into a space the house is designed to keep dry, load after load, year after year - and sustained moisture where wood framing and insulation live is not a condition any home benefits from. The lint settles out onto whatever is up there, building a spreading layer of dry, highly flammable fiber that nobody sees and nobody cleans. Outside, exhaust disperses into open air. In an attic, it accumulates. That's the entire case, and it's why the code doesn't treat this as a gray area.
How Gilbert homes end up venting into the attic
Almost nobody chooses this on purpose. In Gilbert, attic-vented lines mostly trace back to three stories: a garage conversion where the laundry hookups went in without a proper vent path to the exterior, a home addition where running duct to an outside wall was inconvenient, or a previous owner's shortcut - the vent run was failing or incomplete, and pointing it up into the attic was the path of least resistance.
Older housing stock adds a different path to the same result: in established communities like Val Vista Lakes, where many homes date to the 1980s and 90s, a large share of the housing stock is still on its original construction and has never had the vent professionally inspected. A run that's gone unexamined for 30-plus years doesn't announce whether it was ever routed correctly - the dryer works and the clothes dry regardless of where the exhaust actually ends up.
How to check where your vent goes
Ten minutes, no tools. Run the dryer, then walk the full exterior of your home - every wall and the rooflines - looking for a 4-inch louvered or flip-flap hood with warm air streaming out and the flap swung open. Find that, and your vent terminates outside the way it should.
The red flag is finding nothing: no hood anywhere outside, or a hood with no airflow while the dryer runs. Either means the exhaust is going somewhere inside the structure, and the attic is the usual destination. For a second clue, pull the dryer about a foot from the wall and look at which direction the duct heads - the same check covered in what DIY vent work covers. What you can't do from the laundry room is trace the run through the wall cavity, which is why an attic termination can hide for years, and why confirming one is part of the site assessment rather than something you need to prove before calling.
What the fix involves
An attic-vented line is a rerouting job: planning a compliant path from the dryer to an exterior wall or roofline, then installing rigid metal duct along it with a flapped termination hood at the exit. The constraint that shapes the path is equivalent length - most manufacturers allow 25 to 35 feet of total equivalent run, and each standard mitered 90-degree elbow spends 5 equivalent feet of that budget - so the job is partly about finding the exit that keeps the run short and the bends few.
Time and cost follow the path, not the symptom. A straightforward exit through a nearby exterior wall takes 2 to 3 hours; a run that has to travel through wall cavities or across floors takes 4 to 6 and gets quoted after a site assessment, so there are no surprises about what the job involves. One distinction worth knowing: if your vent already terminates outside and the problem is a crushed, disconnected, or aging duct along the way, that's repair or section replacement - a smaller job than a reroute, and we'll tell you which one you're looking at rather than quoting the bigger ticket.
If you walked your exterior and couldn't find a vent hood, that's worth a call this week, not someday: (480) 526-5212. Describe what you found - or didn't - and we'll set up the assessment. The quote comes after we've seen the actual path, which is exactly why it holds.